Last week, I decided to try a new approach to the concept of symmetry with my second grade classes. Symmetry is not a new concept for second grade students, since the students had worked with it in math, science, and art as first graders. So, I decided to use a simple symmetrical painted paper design as the inspiration for an experiment with creative transformation. Like all first time lessons, there is going to be some tweaking needed before I do it again, but overall, I think it was a success, and I know most of the students enjoyed their results.

During the first class period, the students followed some simple steps to create an original symmetrical painting and a print from the original. Before starting, we reviewed primary and secondary colors since the choices would be limited to just these six paint and paper colors. I put the liquid tempera into small bottles with squeeze tips, like those used for glue, to keep some element of control to the amount of paint used. Each student chose one piece of colored paper and one piece of white paper and put his or her name on the back before we started. The original drop, fold, and press design was created on the colored paper. Before the paint could dry, a print was made using the white paper.
 |
| It was fun to see how the painting and the print related to each other. |
When the students returned the following week, I started the lesson by asking the children how many of them had played with Transformers toys. Those who were familiar with them described the toys and how they work, which set the stage for "transforming" one of their painted papers into something new. I shared my example of two ways to use one of my papers from the previous week and we talked about the difference between 2D and 3D artwork.
 |
| My original symmetry painting |
 |
My transformation from the white print
included 2 bugs on a new background. |
 |
| We reviewed how to make things "pop out". |
 |
Then I demonstrated how to turn the rest of
the white paper print into a "bug mobile" and
gave my bugs a ride. |
 |
No time yet for the passengers!
|
Here are some of the results. Each student had a different approach to the transformation. Some cut, pasted, taped, and colored. Some used all of their painted paper, and some only used a little of it and went for the scrap box.
 |
Ladder to a storage room with
objects on the "shelves"! |
Others couldn't even begin to consider cutting up their masterpiece and decided to embellish it as a 2D transformation. Either way, I think the project was a success!
 |
The water skier and the boat's
driver are from the painted paper. |
 |
| The flower on the left is also a bracelet! |
 |
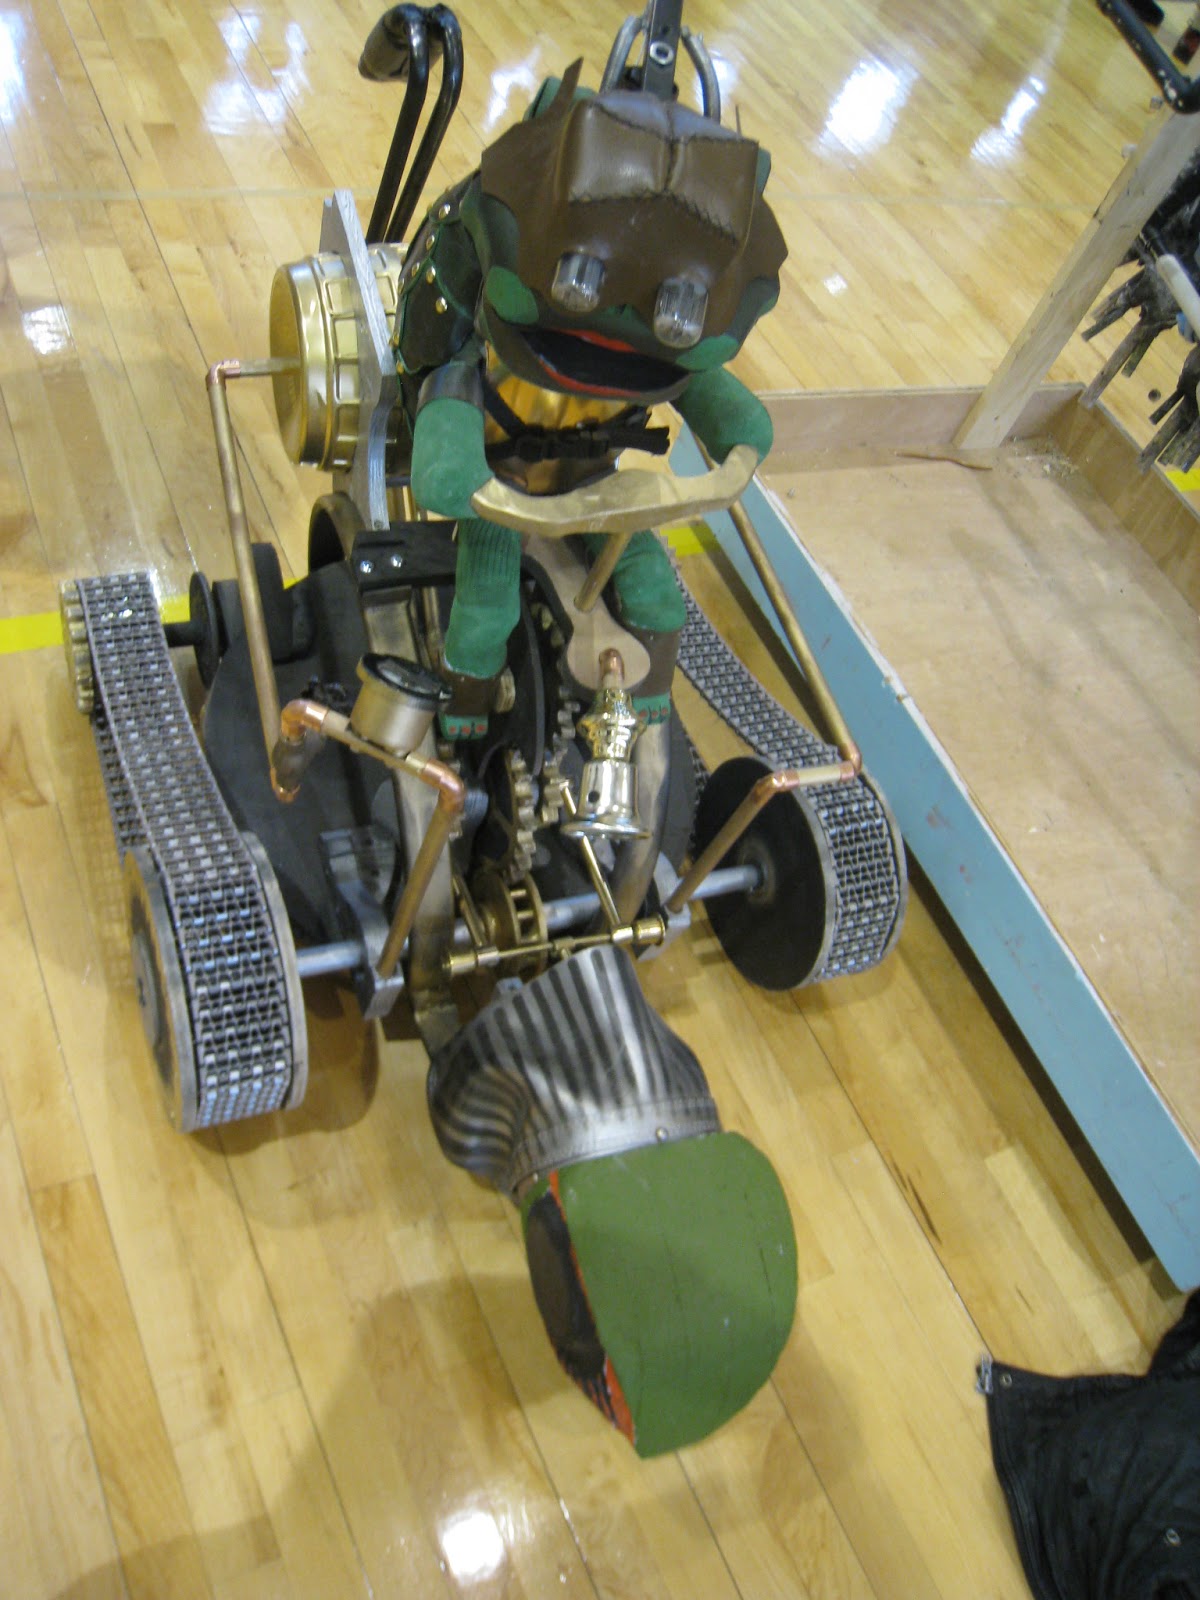
| Space vehicle or robot, not quite sure! |
 |
| I loved this one! This student decided to make a model of human lungs, complete with the windpipe, from his monochromatic painting. |
The next time I do this project, I may consider limiting access to the masking tape. The student who made the lungs used the tape creatively, but for some students it became a rather unattractive alternative to glue sticks, one of my pet peeves when constructing and collaging!

 Many first graders had never used oil pastels before, so this was a lesson in using them with pan tempera paints. The fun was in seeing their pleasure at realizing that the tempera paint could not cover up the oil pastel work....new vocabulary word...resist!
 The second graders created "tie dye" backgrounds for our Dot Day bulletin board using super-sized coffee filters. This was a team project, so each student also made a "personal size" dot to take home using standard filters. Great fun!